We absolutely adore the vibrant red Garibaldi Skirt crafted by Asmita! This post explains how she skillfully added a lining to her skirt. Over to you, Asmita!
When the Garibaldi skirt pattern was released, I was thrilled because I had been searching for ages for a skirt just like this, but hadn't found the perfect pattern yet. I was also eager to try sewing with a fabric other than cotton or linen, which are my usual choices, and an A-line skirt seemed like the ideal project to experiment with something new.

Since I planned to work with a fabric I wasn’t too familiar with, I decided to keep things simple and opted for version B. I created a muslin in size 10, but found it a bit snug around the waist, so I adjusted to size 12. With just two pattern pieces, making this adjustment was quite straightforward. Version B includes a waist facing, which posed the real challenge—how to attach a lining to the skirt. Here's how I approached it:
Adding the Lining
- I folded the lower long side of the facing toward the wrong side after attaching interfacing to the facing fabric (which was also my main fabric), folding it by 3/8â€.
- As I would for the skirt’s front and back pieces, I cut the lining fabric for both the front and back, shortening the lining’s length by 1.5 inches.
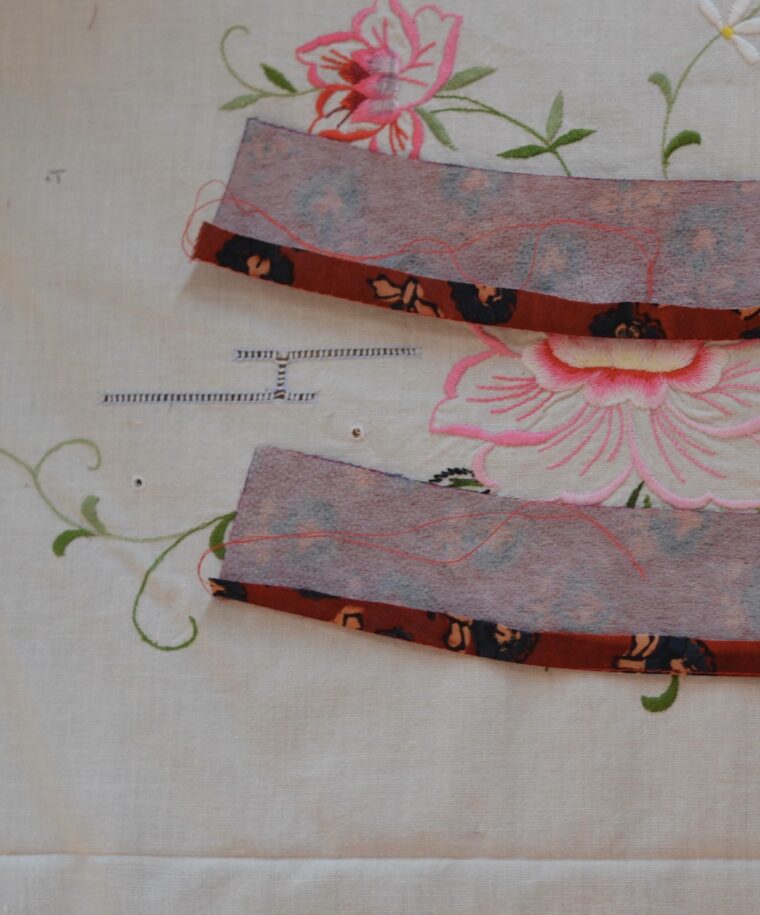
- Taking the front lining piece, I placed it right side up and aligned the front facing piece over it, also right side up (so the wrong side of the facing was now facing the right side of the lining).
- I then edge-stitched the bottom edge of the facing to the lining (see photo insert: edgestitch facing to lining bottom edge).
- Next, I flipped the whole assembly over so the wrong side of the lining was now facing up. I trimmed the top portion of the lining to expose the facing, leaving about ½†of seam allowance from the lining fabric.
This technique is similar to what’s described in a step-by-step tutorial on the blog. You can check it out for more photos and detailed instructions.
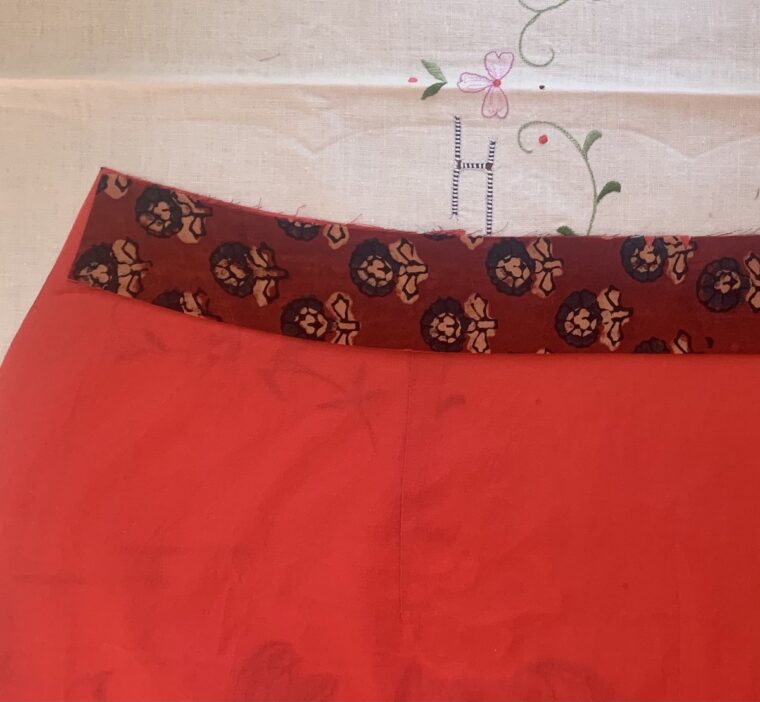
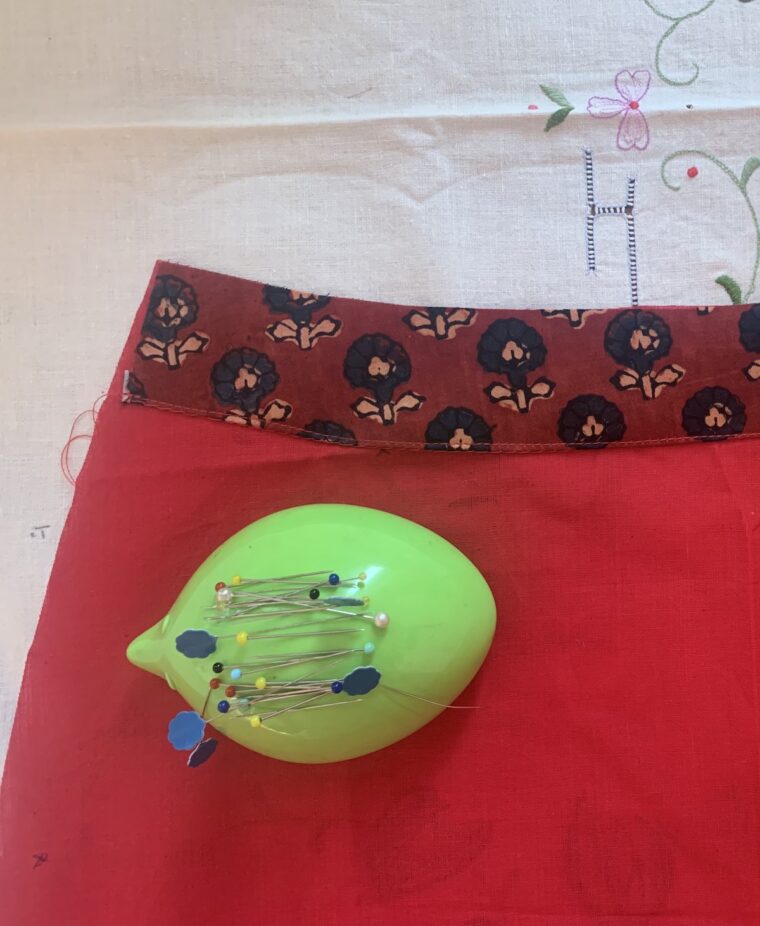
Could one skip the facing altogether and attach the lining directly to the main skirt fabric? While technically possible, one should remember that this version doesn’t include a waistband, meaning the skirt and its lining might stretch without something to support the waist. The facings, being slightly shorter than the skirt itself, provide excellent support at the waist and enhance overall comfort.
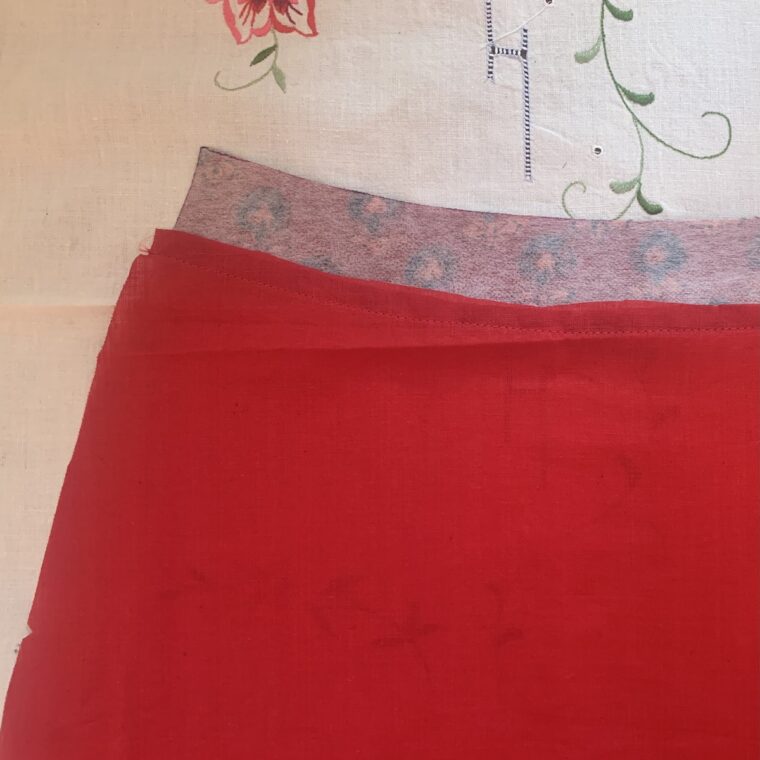
With the lining securely attached to the facings, I proceeded to sew the side seams of the skirt just as I would with the outer fabric. The zipper is now neatly tucked between the two layers, giving the skirt a polished look inside and out. Finally, I hemmed the lining just as I would the skirt itself. (Photo insert: Inside view of the lining.) (If you’re curious about why my lining has two different fabrics, it’s because I accidentally underestimated the amount of fabric needed for the lining and had to use another shade of red I had lying around at home).
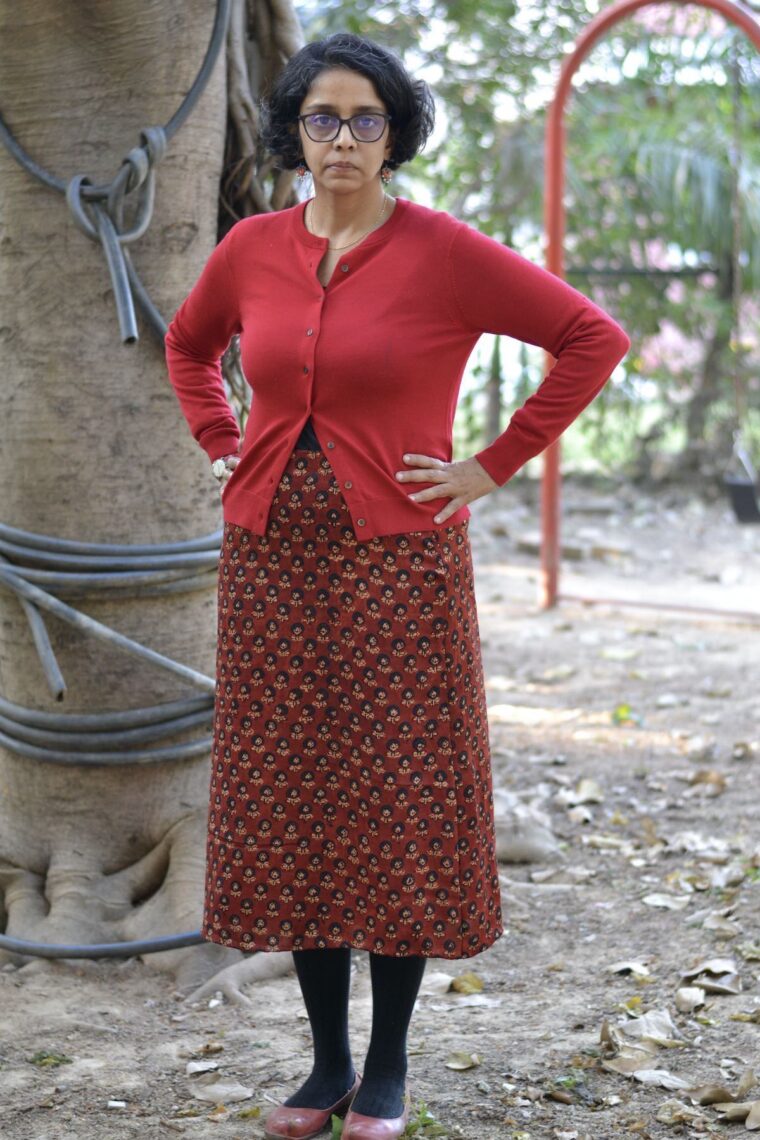

And there you have it—simple as that! I’m absolutely in love with how the skirt looks and feels. The fabric is an ajrakh print on modal silk, and since I inadvertently picked red, I feel like I’ve created a whole new outfit for myself to wear this Christmas!
(adsbygoogle = window.adsbygoogle || []).push({}); Â
Metal Belt buckle, men's belt buckle, fashion buckle, new style buckle, high belt buckle, Material is brass, stainless steel , zinc alloy, etc.Technics is Carved, casting, painted (nickel,brass,gold,chrome,rhodium) polished, welding, etc, Multi-color is available, It`s widely used for Gifts, crafts, or collections, and souvenirs, decorations, promotionals, etc.
We produce all kinds of buckles, which possess good quality, customer's design are welcome. We can mark any logo or trademark on the buckle.
Belt Buckles For Men,Metal Brass Belt Buckle,Custom Logo Belt Buckle,Stainless Steel Belt Buckles
Shenzhen MingFeng Art & Craft Products CO., LTD. , https://www.mf-gift.com